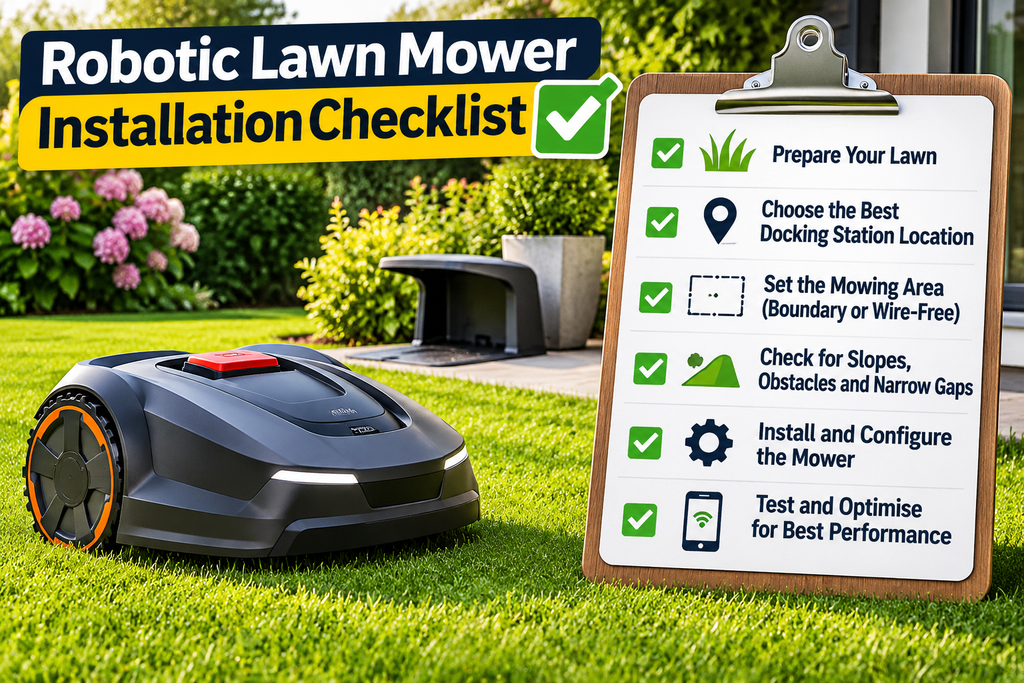
A robotic lawn mower installation checklist is essential for getting your mower set up correctly the first time. Whether you’re installing a wire-free robotic mower or a traditional boundary-wire model, this guide will help you prepare your lawn, choose the best docking station location, avoid common installation mistakes and get your mower running smoothly.
Preparing your yard before a robotic mower arrives can prevent avoidable installation problems. The goal is a clear mowing area, a suitable charging position and a verified route between lawn sections—not simply somewhere to plug in the charger.
Use this research-based checklist alongside the installation and safety instructions for your exact model. It does not replace the manual or a professional site assessment.
Contents
1. Walk the entire mowing area
Remove toys, branches, stones, loose cables and other objects. Mark sprinkler heads, exposed roots, holes and areas that become muddy. Resolve trip hazards and uneven edges that could strand the mower. Check the required starting grass height; an overgrown lawn may need cutting with a conventional mower first.
Sketch separate lawn sections and the routes between them. Measure gates and narrow gaps. A mower that fits through a gate physically may still need extra clearance to navigate it reliably.
Record hazards that need special treatment
Highlight ponds, swimming pools, roads, steps, retaining walls and drops. Follow the manufacturer’s setbacks and physical-barrier requirements. Do not treat virtual boundaries, a perimeter wire or collision sensors as substitutes for required barriers.
2. Choose the charging position from the manual
Look for a position that meets the model’s requirements for ground level, approach clearance, cable routing and weather protection. Keep access to the charger clear. Verify that every intended work area can reach the station under the selected installation method.
Use the specified power supply and suitable electrical arrangements. Where electrical work is needed, have a qualified professional handle it. Do not improvise cable extensions or bury power components unless the manufacturer permits it.
For satellite models, confirm the positioning requirements for both mower and any reference station before fixing equipment permanently. An apparently convenient corner may have poor reception.
3. Plan boundaries before laying wire or mapping
For wired models, use the manual’s clearances around beds, walls, paving and hazards. Plan guide wires where supported. Record the final route so future digging does not damage it.
For wire-free models, map work areas and exclusion zones using the supported procedure. Check whether separate lawns need transport paths or manual relocation. If a gate will be shut during mowing, account for that in the schedule.
Husqvarna’s guidance gives different instructions for different installation types and models. A passage width quoted for one machine should never become a universal rule for all robotic mowers.
4. Supervise the initial checks
- Follow the manual’s startup and safety procedure.
- Check every boundary and exclusion zone from a safe position.
- Test passage access and return to the charger.
- Look for wheels slipping, repeated recovery attempts or lawn damage.
- Adjust the installation using the approved instructions before routine operation.
Keep children, pets and bystanders out of the work area as required by the manual. Stop and isolate the machine using the specified procedure before clearing blockages or working near blades.
5. Plan for routine ownership
Set aside time for checking blades, removing debris and inspecting the charger. Use only cleaning methods the manufacturer approves; do not assume the mower can be pressure-washed. Plan storage and winter care for your climate and model.
Still choosing a system? Read our navigation comparison and yard buying checklist.
Sources and review notes
Reviewed November 5, 2026. Sources: installation examples, passage guidance, and STIHL installation guidance. Before publication: add an image with accurate alt text; focus keyword “robotic lawn mower installation checklist”; SEO description based on the excerpt.